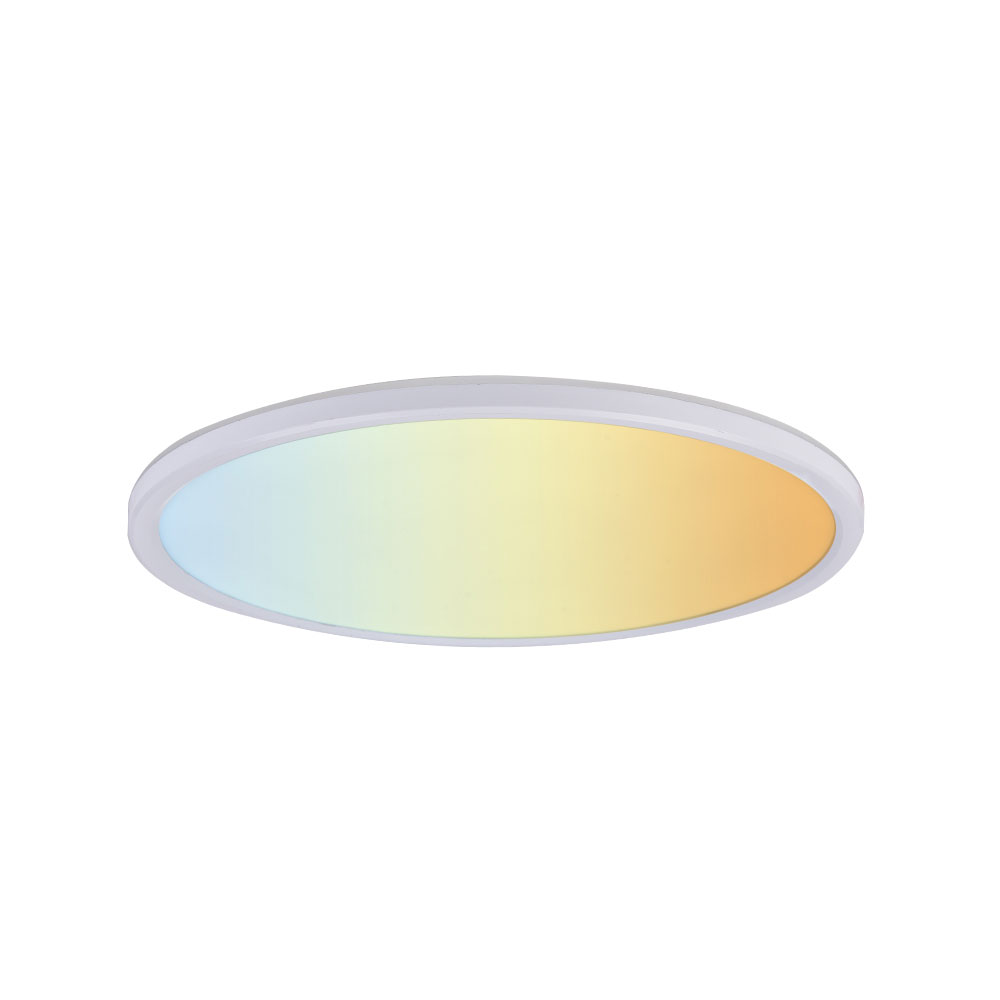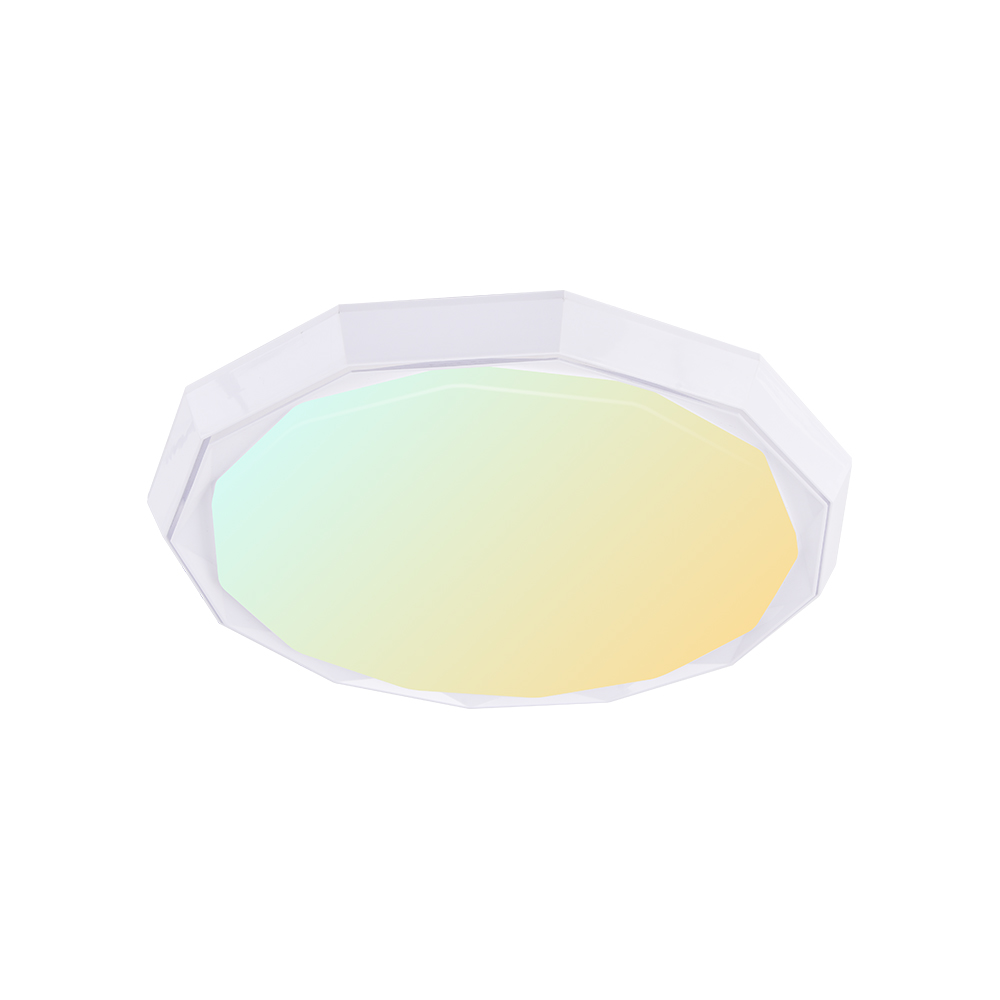
Smart ceiling lights offer convenience, energy efficiency, and advanced features, but like any technology, they can encounter issues that affect their performance. Whether you're experiencing connectivity issues, flickering lights, or problems with pairing, this guide is here to help you diagnose and resolve common problems encountered with smart ceiling lights.
Welcome to our Troubleshooting Guide: Fixing Common Smart Ceiling Light Problems.
Common Issues with Smart Ceiling Lights and How to Solve Them
① Smart Ceiling Light Not Connecting
Wi-Fi Range: Check the placement of your router. If it's situated in a distant area or obstructed by materials like concrete, you might encounter coverage problems. Attempt moving your device closer to the router, ideally within 20 feet, to test for connectivity.
Restart Devices: Restart both the smart light and the Wi-Fi router to refresh their connection.

Reset and Reconnect: If initial attempts fail, try resetting the smart light to its factory settings and reconnecting it to the Wi-Fi network.
Check network frequency band: Check your smartphone is connected to a 2.4 GHz network. Several routers come with dual bands, consisting of a 2.4 GHz and a 5 GHz network, which may or may not be explicitly labeled. The smart ceiling light will not connect to a 5 GHz network.

② Smart ceiling light won't turn on
Check Bulb: Check if the light bulb needs replacement. Sometimes, a burnt-out bulb can be the cause of the issue. Just remove the cover placed over the bulb, and then observe it to see if there are any indications that it is still alive. If not, replace the old bulb with a new one. Do you look for a reliable led ceiling light supplier?
Power Source: Ensure the power source and connections are secure, including checking the light switch or circuit breaker.
Smart Switch Compatibility: If using a smart switch or dimmer, ensure it's compatible with the smart ceiling light and properly configured.
Reset and Retry: Try resetting the smart ceiling light to its default settings and attempt to turn it on again.
③ Smart ceiling light blinking red
Check Documentation: Consult the wholesale led ceiling light manufacturer's documentation to determine what the blinking red light indicates. It could signal various issues, such as a connection problem or low battery.
Power Source Stability: Ensure the power source is stable and the light securely connects to the network.
Customer Support: If unsure about the blinking red light's meaning, contact the manufacturer's customer support for assistance. If you look for a reliable led ceiling light supplier, click here.
④ Smart ceiling light keeps flickering
Check connections: Inspect wiring connections and light bulbs for any looseness and tighten them if necessary.
Dimmer Compatibility: Verify if the dimmer switch is causing compatibility issues and adjust its settings accordingly.
Smart Bulb Concerns: If using smart bulbs, ensure they're not overheating or experiencing voltage fluctuations, as these can cause flickering.
⑤ Smart ceiling light not pairing
Reset and Retry: If initial pairing attempts fail, reset the smart light and try pairing it again from scratch.
Compatibility and Updates: Verify compatibility with your smart home ecosystem and ensure all devices, including the light and hub, are updated to the latest firmware versions. If you don't know how to operate, led ceiling light supplier can provide assistance.

Tips for Maintaining Smart Ceiling Lights
① Clean Regularly
Regularly clean and dust the light fixtures and sensors to ensure optimal performance. For sensors or controllers for features such as motion detection or dimming, test controls to verify they're responsive.
② Check for Firmware Updates
It is essential to keep your device's firmware updated by installing the latest updates provided to ensure security and proper functioning. Updates often include bug fixes, security patches, and performance improvements that enhance the reliability and functionality of your smart ceiling lights.
③ Monitor Connectivity
Periodically inspect the connections between the light fixture and power source to ensure it is safe. Loose connections could lead to flickering lights or intermittent functionality. If necessary, tighten screws or connectors to maintain a stable connection.
④ Protect from Power Surges
Pay attention to the power source of your smart ceiling lights to ensure a stable electrical supply. It is recommended to use surge protectors or voltage regulators to protect against electrical problems. This can help safeguard your equipment and prevent damage caused by power surges or fluctuations in voltage.
⑤ Smart system issue
If you encounter any system-related issues with your smart ceiling lights, such as unresponsiveness or glitches, troubleshoot the problem promptly. Try resetting the lights, updating the app, or contacting customer support for assistance if needed.
⑥ Follow Manufacturer Guidelines:
Finally, adhering to the wholesale led ceiling lights manufacturer's guidelines can help extend the lifespan of your lights and optimize their performance.
Installing Smart Ceiling Lights Like a Pro
Preparation: Prepare the ceiling light to be installed, it is recommended to find a reliable led ceiling light supplier to purchase. Before starting any installation work, turn off the power at the circuit breaker to avoid electrical shocks.
Mount the New Fixture: You should prepare screwdrivers, wire pliers, wire connectors, a marker, and a saw (or regular wood saw). Use the provided mounting hardware and secure the fixture in place according to the recommended installation method.
Connect Wires: Connect the wires from the ceiling to the corresponding wires on the smart light fixture. Typically, this involves matching the black (hot) wire, white (neutral) wire, and sometimes the green or bare copper (ground) wire. Use wire nuts to securely fasten the connections and ensure proper electrical conductivity.
Recommend video:
Attach cover or trim: Once the wires are connected, carefully tuck them into the electrical box and secure the smart ceiling light fixture to the ceiling using the provided screws or mounting bracket.
Power on and test: Turn the power back on at the circuit breaker and test the functionality of the smart ceiling lights.
Configure Smart Features: Follow the instructions provided with the rgb ceiling lights to configure any additional smart features, including connecting to your Wi-Fi network, pairing with a smart home hub, or setting up automation routines. Use remote control device to adjust settings, such as brightness or color temperature, and test that all features are working correctly.
Cleanup and Final Checks: After completing the installation, ensure to dispose of all packaging materials and debris. Double-check all connections and tighten any loose screws or fasteners.


As we conclude this smart ceiling light Troubleshooting Guide, we hope you've found the information provided valuable in addressing any issues you may encounter with your smart ceiling lights. Remember, troubleshooting smart devices often involves a combination of technical knowledge, patience, and attention to detail.
YOURLITE, as a wholesale led ceiling light manufacturer and service provider, offers a range of smart ceiling lights such as RGB ceiling lights, ultra thin led ceiling lights, etc. We are here to provide you with better smart lighting-related services. For more information about smart ceiling lighting, you can click here or contact us for further assistance.
Post time: Mar-01-2024


